Purge Line/Priming line
That is a purge line. It is there to make sure filament is in the nozzle, and get out any old filament left from a previous print. I find it very convenient to remove any old oozing filament. It’s not a setting you can change in your slicer, it is in the starting gcode. You can just take out the lines of code that tell it to print the line if you want to get rid of it.

Bed Adhesion
Skirt
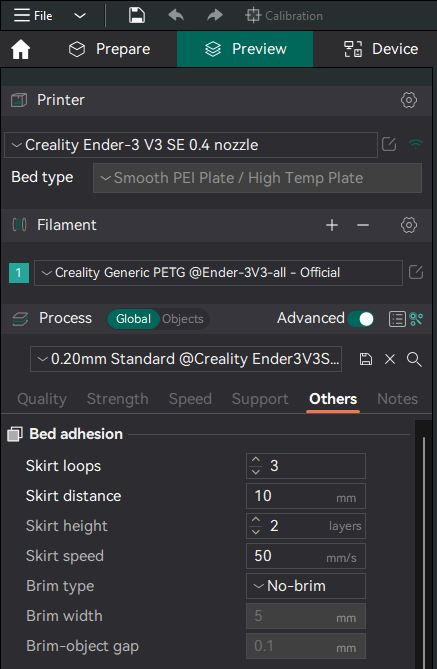
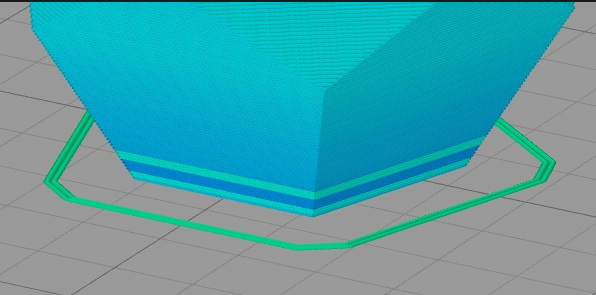
- Skirts serve a useful purpose because they help prime your extruder and establish a smooth flow of filament. It can often catch some random bobs on the nozzle and make a cleaner print. The skirt also gives you a sense of how your adhesion and first layer look before starting the print.
- The skirt for checking bed tram / z-height.
- I set mine to 2 passes instead of 3, every now and then my z limit switch likes to be real wonky and I’d rather see it on the skirt and quickly adjust z-offset.
When to use what foundation

- Raft - For bad beds, you should fix/upgrade the printer and not use this crutch.
- Skirt - Always. It helps get the nozzle ready and is sanity check. If there is any adhesion problem, this will show
- Brim - For improved adhesion on prints that have a small base but large height. Sometimes for other tricky prints and ABS.
- I use a brim to stop warping and peeling too, especially on heated beds
Speed
ender_3_v3_se_speed_up_pla_printing
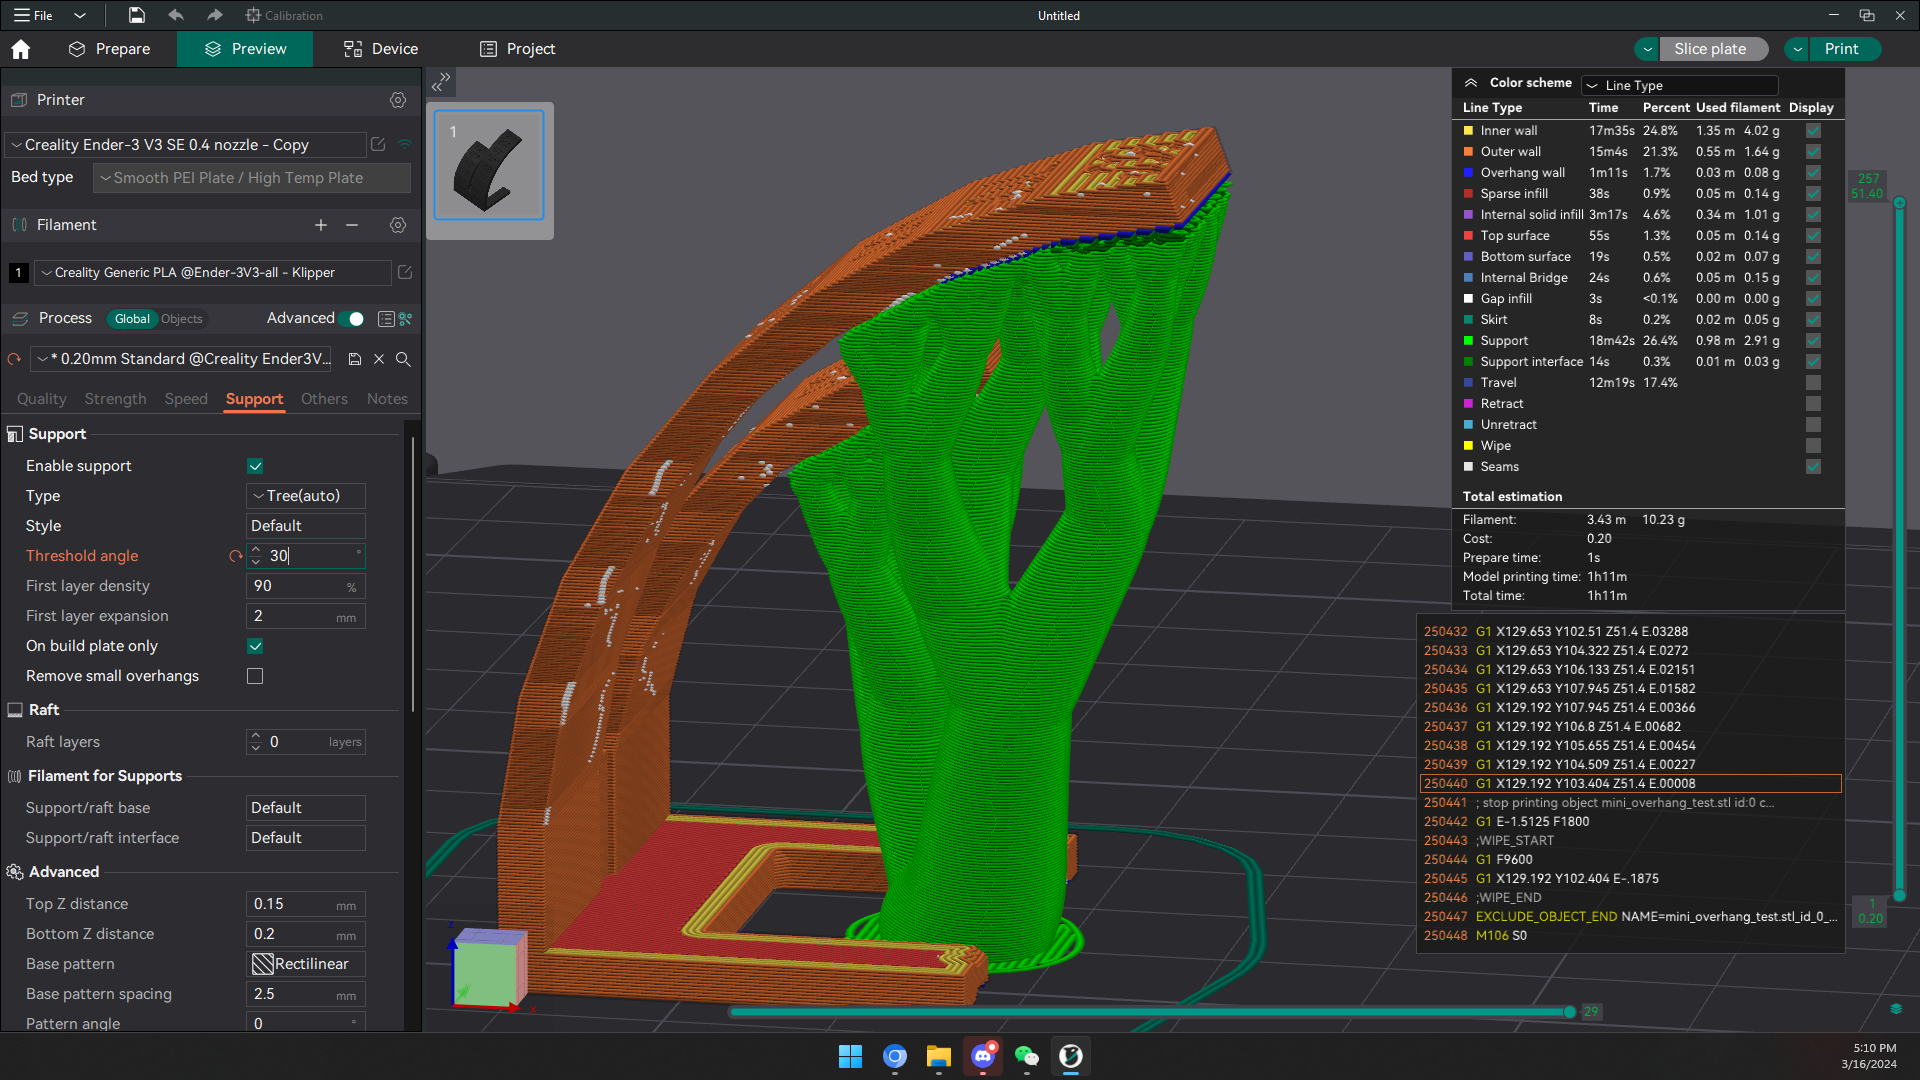
Tree support
Enable tree support
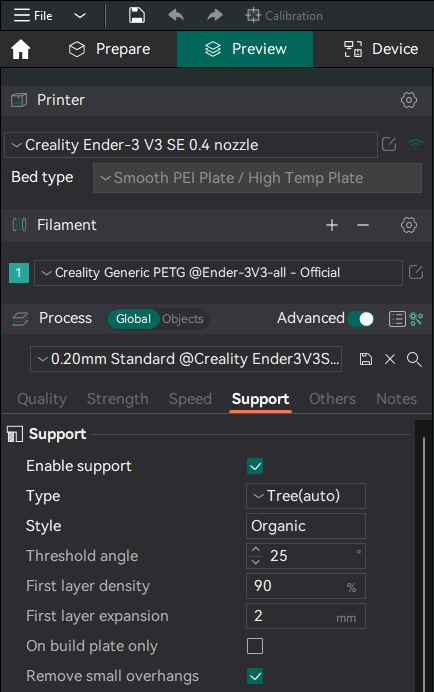
Support Threshold angle
Print an overhang test, if you see 60 degree is ok then you will want to enter 90 - 60.
This means degree > 60 will be having supports
 Note overhang and bridging is not the same. Overhang does not have another endpoint to reach while bridging have two points the filament can rest on
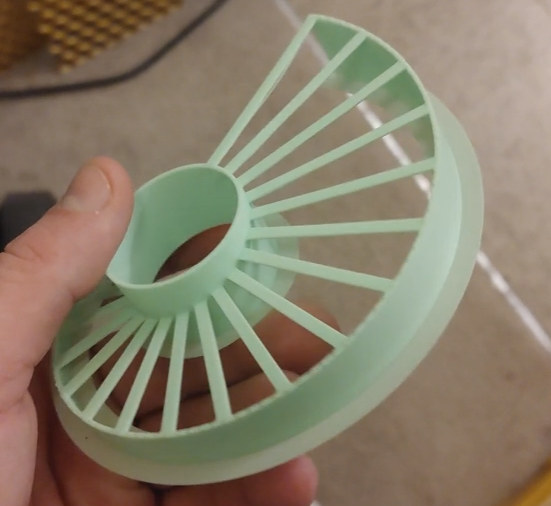
Bridging
3d printers can print mid air as long as you have an anchor point. The printer pulls the material taught, keeping tension on it to keep a straight line, while the cooling fan cools the material behind the nozzle. This creates a bridge that doesn’t need supports!
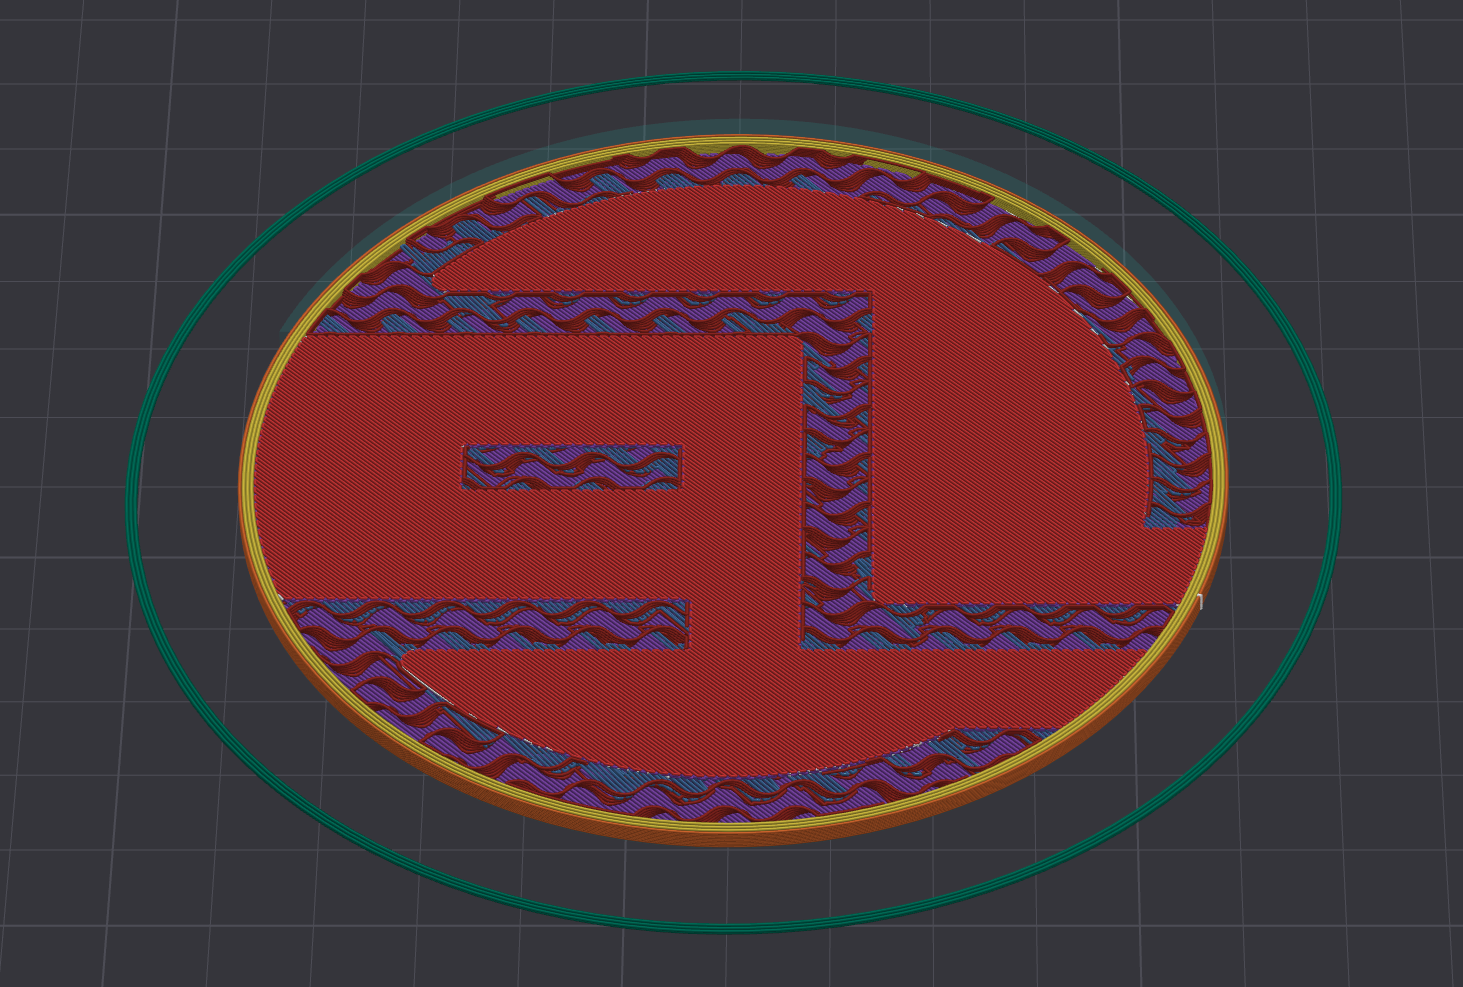
Color Change
For example this is the layer my printer finish printing first color
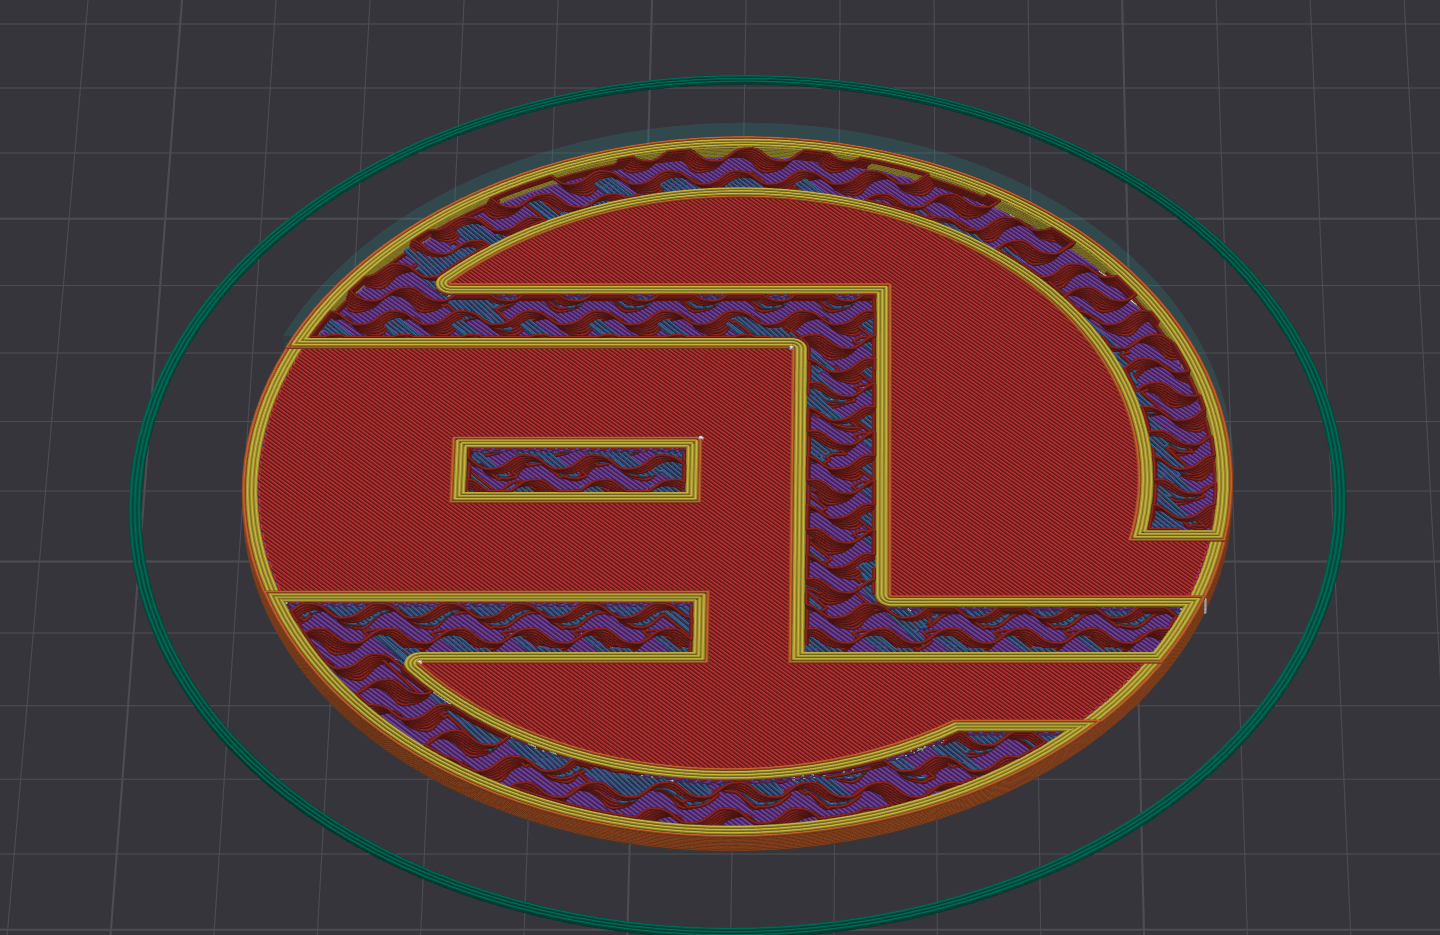
 You will want to one up that layer then add Gcode M600 to do color swap. A rule of thumb is when you see the outline of your second color, that is the layer you want to add M600 for color swap
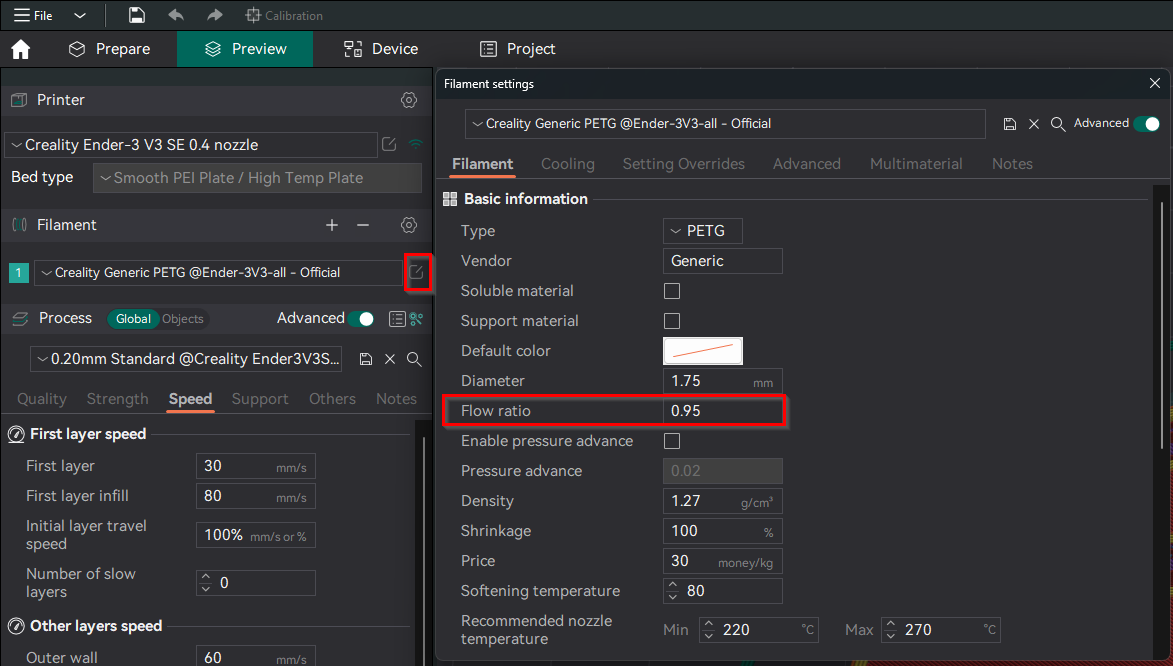
Extrusion multiplier
This is another name for extrusion flow in Cura
YOU MUST DO E-STEP CALIBRATION BEFORE CALIBRATING EXTRUSION MULTIPLIER AND Z-OFFSET
If you cannot get reliable top layer with 0.9 multiplier, please redo your E-Step
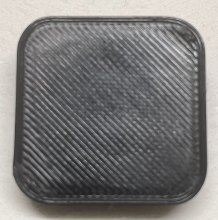
Example

Bad

Better(still a bit over extruding, you can still see the string lines)
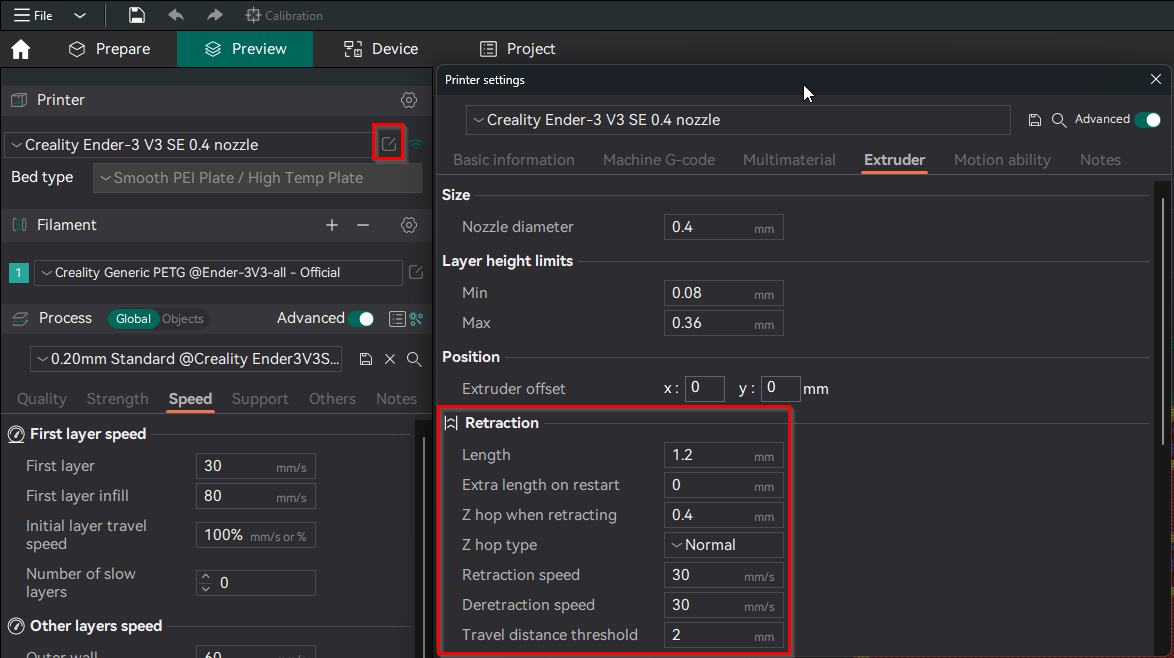
Z-hop (retract before moving nozzle)
- With Z-hop you don’t get scars on top solid layers.
- Z hop also helps where you have tall narrow (tower like) features on your model. helps to prevent the extruder displacing the existing tower layers when the extruder attempts to put down the next layer.
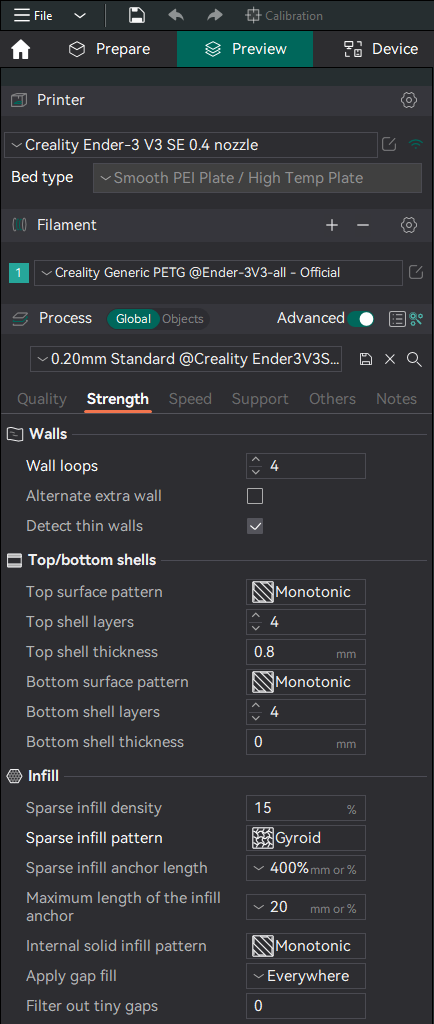
Object strength
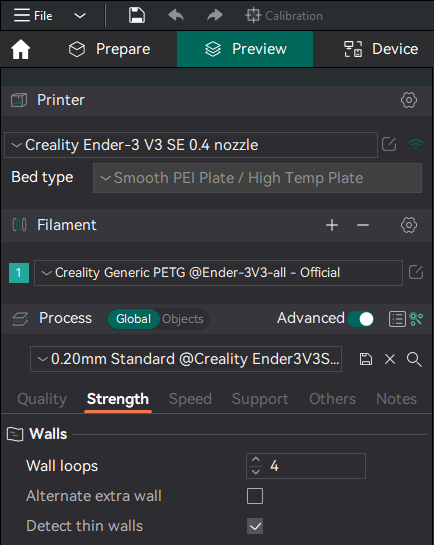
Vertical Perimeters (wall layers)
More wall count will increase model strength and integrity more than infill
Infill
Use gyroid to avoid nozzle running into infill on same layer